Physical Programming
I recently published two new 4-6 week physical programming units to iCompute’s Key Stage 2 scheme of work; which I blogged about in my post Teach Programming with LEGO™ WeDo
I admit to a rising sense of panic as I approached my first session: young children, small LEGO parts, computers and stuff that moves! However, we’ve been having a great time and thought I’d share some of the practises I’ve found necessary to manage these very active learning lessons.
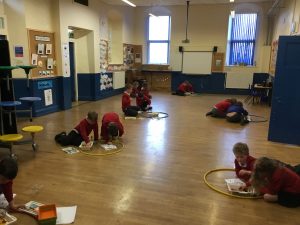
First of all, get organised before each session. I’ve found it’s much better to work on the floor to prevent bouncing bricks, so book out the school hall if you can or clear your classroom of desks. I’ve assigned each pair of pupils a LEGO WeDo Construction kit and a labelled basket for their models. I also arranged space in the classroom for a ‘robot parking lot’. Whenever I need everyone’s attention, or if we’ll be working on the same model a few weeks in a row, we park the robots in their baskets on top of the construction kit boxes. This helps keep the kits organised so that, combined, the model and the kit = a full construction kit.
You need to be really firm about pupil movement around the space you’re using with LEGO parts! I use hula-hoops placed around the hall with big gaps between them. I explain the necessity of keeping the models and construction kits within hoops to that we don’t lose the parts. The children have been great, understanding the clear rules and why we have them.

Organisation is key!
In order to work on the floor, you’ll need either laptops or tablets. If you don’t have either, the children can transport their models in their baskets (always with their kits) to the desktops; but make sure they have plenty of space between them to program and operate the models.
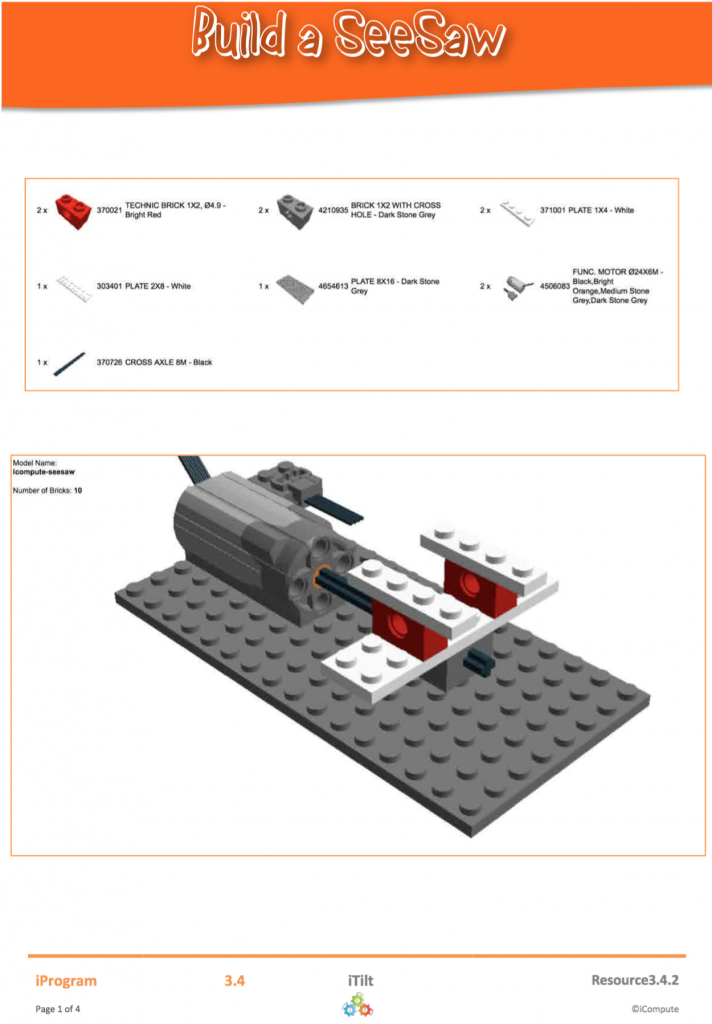
I used the amazing LEGO Digital Designer to put together building instructions as a basis for each of the models the children would be making and programming. Don’t worry, you won’t have to if you are an iCompute school because I’ve done all that for you. Simply print and hand out to the children. If you fancy having a go yourself, you can virtually construct a model of your choosing and then opt to create the build instructions which your can display in a web browser or print. Love it!

Build Instructions for LEGO WeDo
Whilst build instructions can be vital for some pupils, there are still plenty of opportunities for creativity for others and I allow those the freedom to design, create and program their own models with only a rough guide.
I’ve been really impressed with how well the children have responded to physical programming and how smoothly the lessons have gone. I hope some of you find my tips useful and please let me know how your lessons go.


