Controlling Physical Systems – Robotics
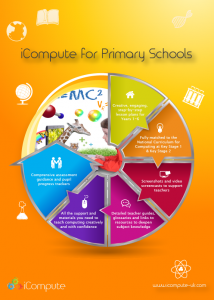
As part of my role with Computing At Schools (CAS) as a Primary Computer Science Master Teacher, I have recently been fortunate enough to teach using Sphero, having been lent a set by @cas_lancaster. The task was to produce a set of step-by-step Sphero lesson plans and associated teacher and pupil support materials for primary teachers to use. That is all now done and I’ve had great fun creating our new robotics unit – iCompute with Sphero – which forms part of our iPad pack , as well as being available separately. It will be lent out to other local schools by @cas_lancaster. Teaching progressive lessons using Spheros enables primary schools to meet a number of the objectives of the National Curriculum for Computing at Key Stage 2 Specifically:
- design, write and debug programs that accomplish specific goals, including controlling or simulating physical systems; solve problems by decomposing them into smaller parts
- use sequence, selection, and repetition in programs; work with variables and various forms of input and output
- use logical reasoning to explain how some simple algorithms work and to detect and correct errors in algorithms and programs
- select, use and combine a variety of software (including internet services) on a range of digital devices to design and create a range of programs, systems and content that accomplish given goals, including collecting, analysing, evaluating and presenting data and information
Here, I share my experiences of using Sphero 2.0 with primary pupils and give some general advice and classroom tips about how to use them effectively, engage and challenge your pupils. See this post which details my more recent experiences of teaching using Sphero SPRK+ edition.
What is Sphero?
Sphero is a robot ball with several features that can be controlled though apps and also includes the facility for pupils to create their own computer programs. The main features are:
- Rolling – Sphero can roll at specified speeds and directions
- Colours – Sphero can light up to a specified colour
- Bluetooth – Sphero connects to mobile devices through wireless Bluetooth
Preparation
As Spheros are connected to iPads via Bluetooth, preparing to use them in your classroom before your roll up brandishing them and creating general hysteria is vital! Make sure all are fully charged and that your have paired each to a particular tablet in advance. Each Sphero flashes a unique sequence of colours when they are ‘woken’ which can be used to identify them. A Sphero will appear on your tablet’s Bluetooth list using the initials of the three colours it flashes in order, Eg. Sphero-RGB for a colour sequence of Red, Green and Blue. Update: Connecting Sphero to tablets is much easier and more reliable since Sphero SPRK+ edition has been released (which I now have and teach with). Here, you simply hold Sphero close to your iPad to make a connection.
For Sphero 2.0, I added stickers to each of the Spheros with their unique name, as ‘YGO’, ‘RGW’ etc., and also to the corresponding tablet I’d paired it to. This made distributing them and the iPads much easier when in class. This isn’t necessary if using SPRK+.
Environment
You need lots of space to use these. I used the school hall. I refer back to ‘Preparation’ for this as it may be something you need to organise. I forgot on my first session and arrived with a very excitable class to a hall full of lunch tables. The first half of my lesson therefore involved getting those out of the way.
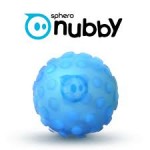
You can also buy covers called a ‘Nubby’ for outside use.
I tried this with one of my classes and we had to come back inside as it was sunny and therefore impossible to see Sphero’s tail-light: essential to be able to aim it to move in the direction you want it to go. Also, we had iPads and the children couldn’t see the screens. When our school went on to buy the SPRK+ edition of Sphero, we didn’t bother buying the covers.
Lesson Ideas
Now on to the good stuff. My specialism is teaching primary pupils aged 3-11. I think coding with Sphero is suitable for Key Stage 2 pupils, children aged 7-11.
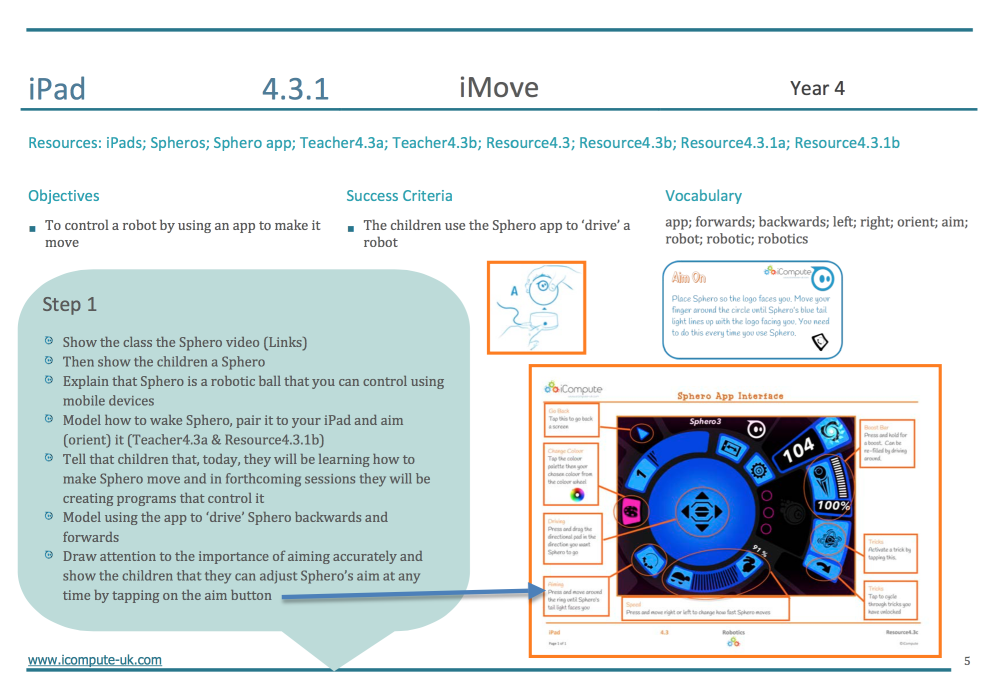
I suggest your first session focus on teaching the children how to wake Sphero, Orient (aim) it and control it using the standard Sphero app. Each Sphero (2.0 version) comes with, amongst other things, a pair of ramps and once the children have got used to moving Sphero forward and backward with reasonable accuracy, add the ramps and other obstacles to make things interesting and develop accuracy further. The SPRK+ edition, doesn’t have ramps but has tapes and measures instead.
A lesson, including step-by-step instructions for both teacher and pupil for this are available in our robotics pack.
The following lessons progress to using the drive function of the Sphero Edu app enabling the children to gain greater control and begin to understand that Sphero can be controlled to perform specific actions.
I then move things on for the rest of the unit to programming Sphero using Sphero Edu.
We created quizzes that the children programmed Sphero to move and change colour to answer. This presents great cross-curricular opportunities. We create algorithms and program Sphero to be our dance partners for Physical Education. Also, mazes to navigate with excellent links to Mathematics for distance, direction and angle work. The children also program Sphero to travel the globe, linking to Geography, using a free floor map from National Geographic.
Using robotics in the primary classroom presents creative and engaging opportunities for the children to extend what they have learned about algorithms and programming in Computing by understanding that physical systems can be controlled too. With the right blend planning and imaginative resources, using Sphero’s in your classroom has the potential to inspire the next generation of software designers and systems engineers! The possibilities are exciting…
Visit icompute-uk.com for primary computing lesson plans.


